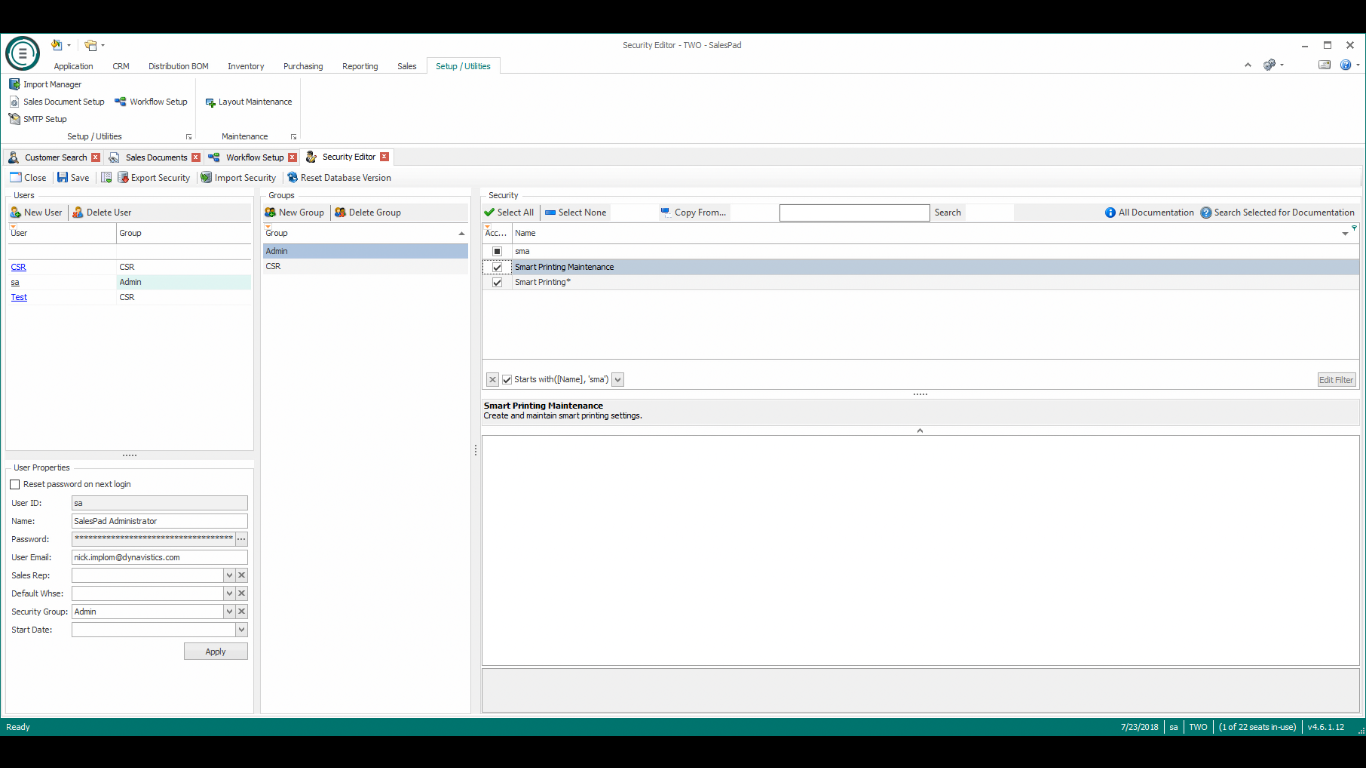
Hi! This is Nick from Dynavistics. And this is a short video on how to set up an order confirmation email using smart printing, in sales pad. In this example, I'd like to set up workflow to automatically send an order confirmation email to the customer once an order has moved from the new queue to the ready to pick queue. To start, let's open the security editor and make sure that the email template editor and smart printing are enabled in security.
Now, that we've enabled them. We need to save the changes and log out and log back into sales pad.
Next, let's set up the email template that will be used for the email body of the order confirmation. To do this, we need to open the email template editor under the setup utilities tab in the ribbon. Once open, click the Add button to create a new email template. I'll name this one order confirmation.
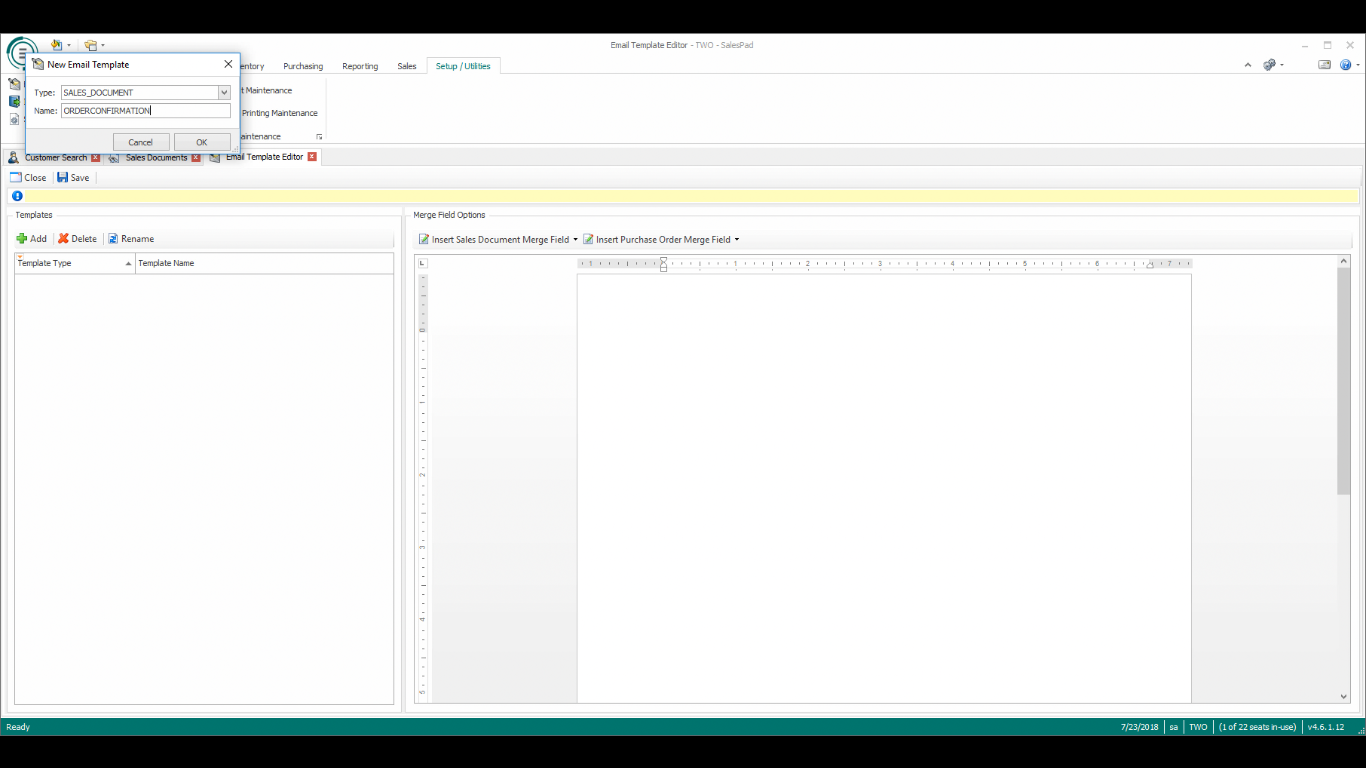
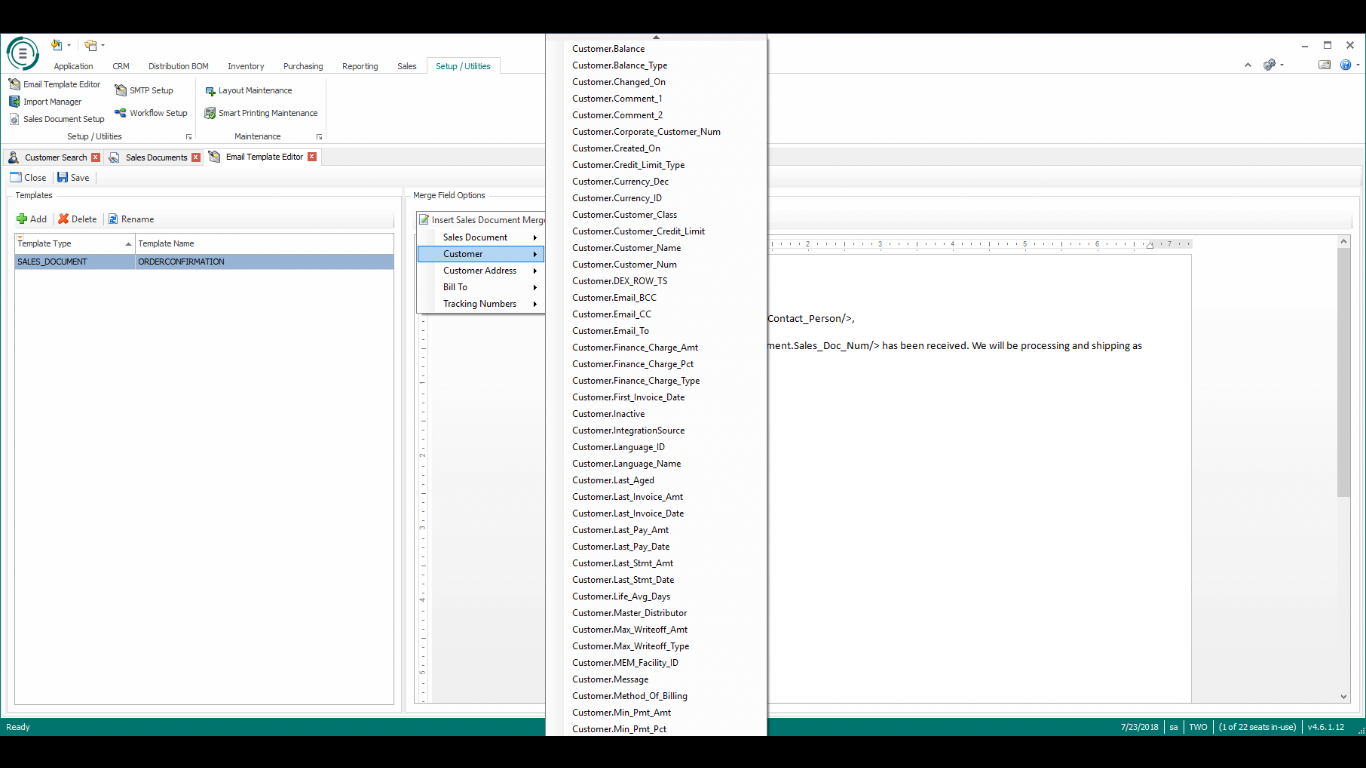
I've already created a basic order confirmation email template. I'll paste that here. Notice after Dear you see <salesdocument.Contact_Person/>, this tag will be replaced with the contact person text on the sales order. You can automatically add these tags to the body of the email using the insert sales document merge field drop down.
Now, that we've set up our order confirmation email template. We need to configure smart printing to send that email.
Open the smart printing maintenance screen and click Add to create a new smart printing entry. Since we are creating this one to send order confirmation emails, we will select order in the sales document type. I've created a copy of the out-of-the-box co order confirmation report and sales pad to use a smart printing.
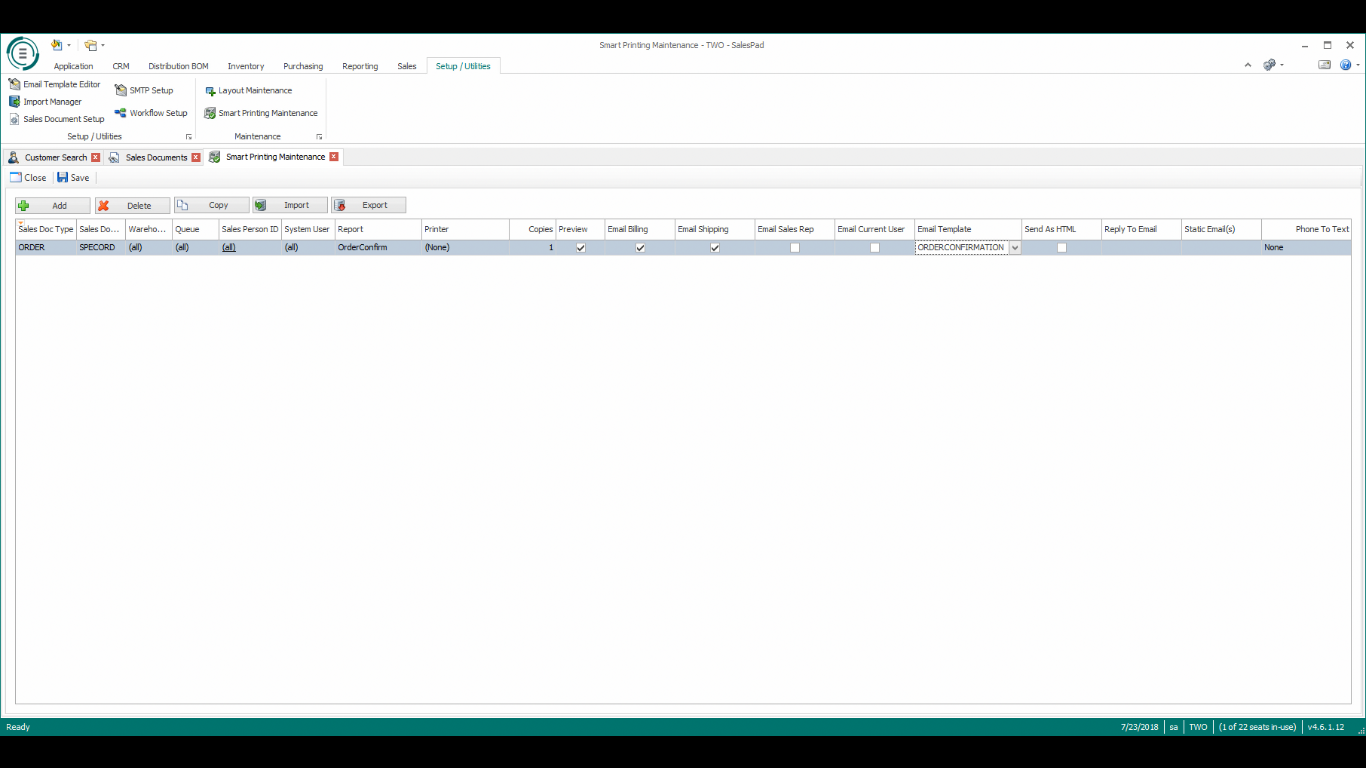
Let's select email billing, email shipping and the email template we've just created. Now we need to configure workflow to run the smart printing plugin, when we leave the new queue and enter the ready to pick queue. Open workflow setup. Select smart printing from the plug-in drop-down for the new queue. This will automatically run smart printing when anyone special order is moved from the new queue to the ready to pick queue and send the order confirmation email we've just configured.
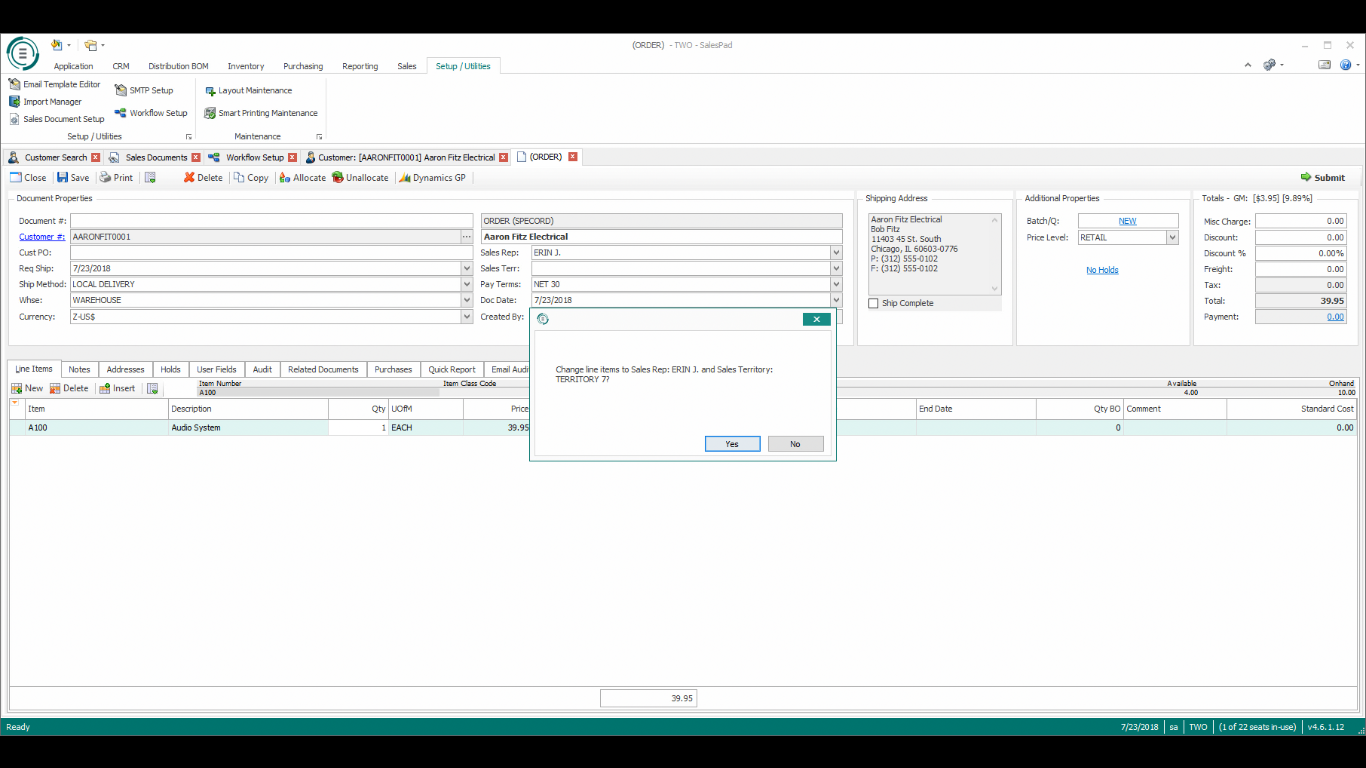
Now, let's save our workflow changes and create an order and test out the order confirmation email. Since I’ve created a new special order, it will start out in the new queue. Let's forward it to the ready to pick queue and make sure the order confirmation email fires off.
I've already sent the billing and shipping email for Aaron Fitz to my personal email address for testing. I've just forwarded the document to the ready to pick queue and I’ve received the order confirmation email. As you can see, the merge fields have been replaced with the fields from the sales order. I hope you've enjoyed this video and stay tuned for more tips and tricks for sales pad.
